The Twiggy Tags Multi-Way Lead
We have created this blog to share some helpful information about our Twiggy Tags Multi-Way Lead including some video examples of all the ways the lead can be used, and training tips and tricks that the lead can help with!
How many different uses!?
Well, the answer is feeling pretty infinite because every time somebody new uses the lead, they seem to find a brand-new way to use it. Here are a list of the ways we have found to use the lead so far and a guide on how you can do it too!
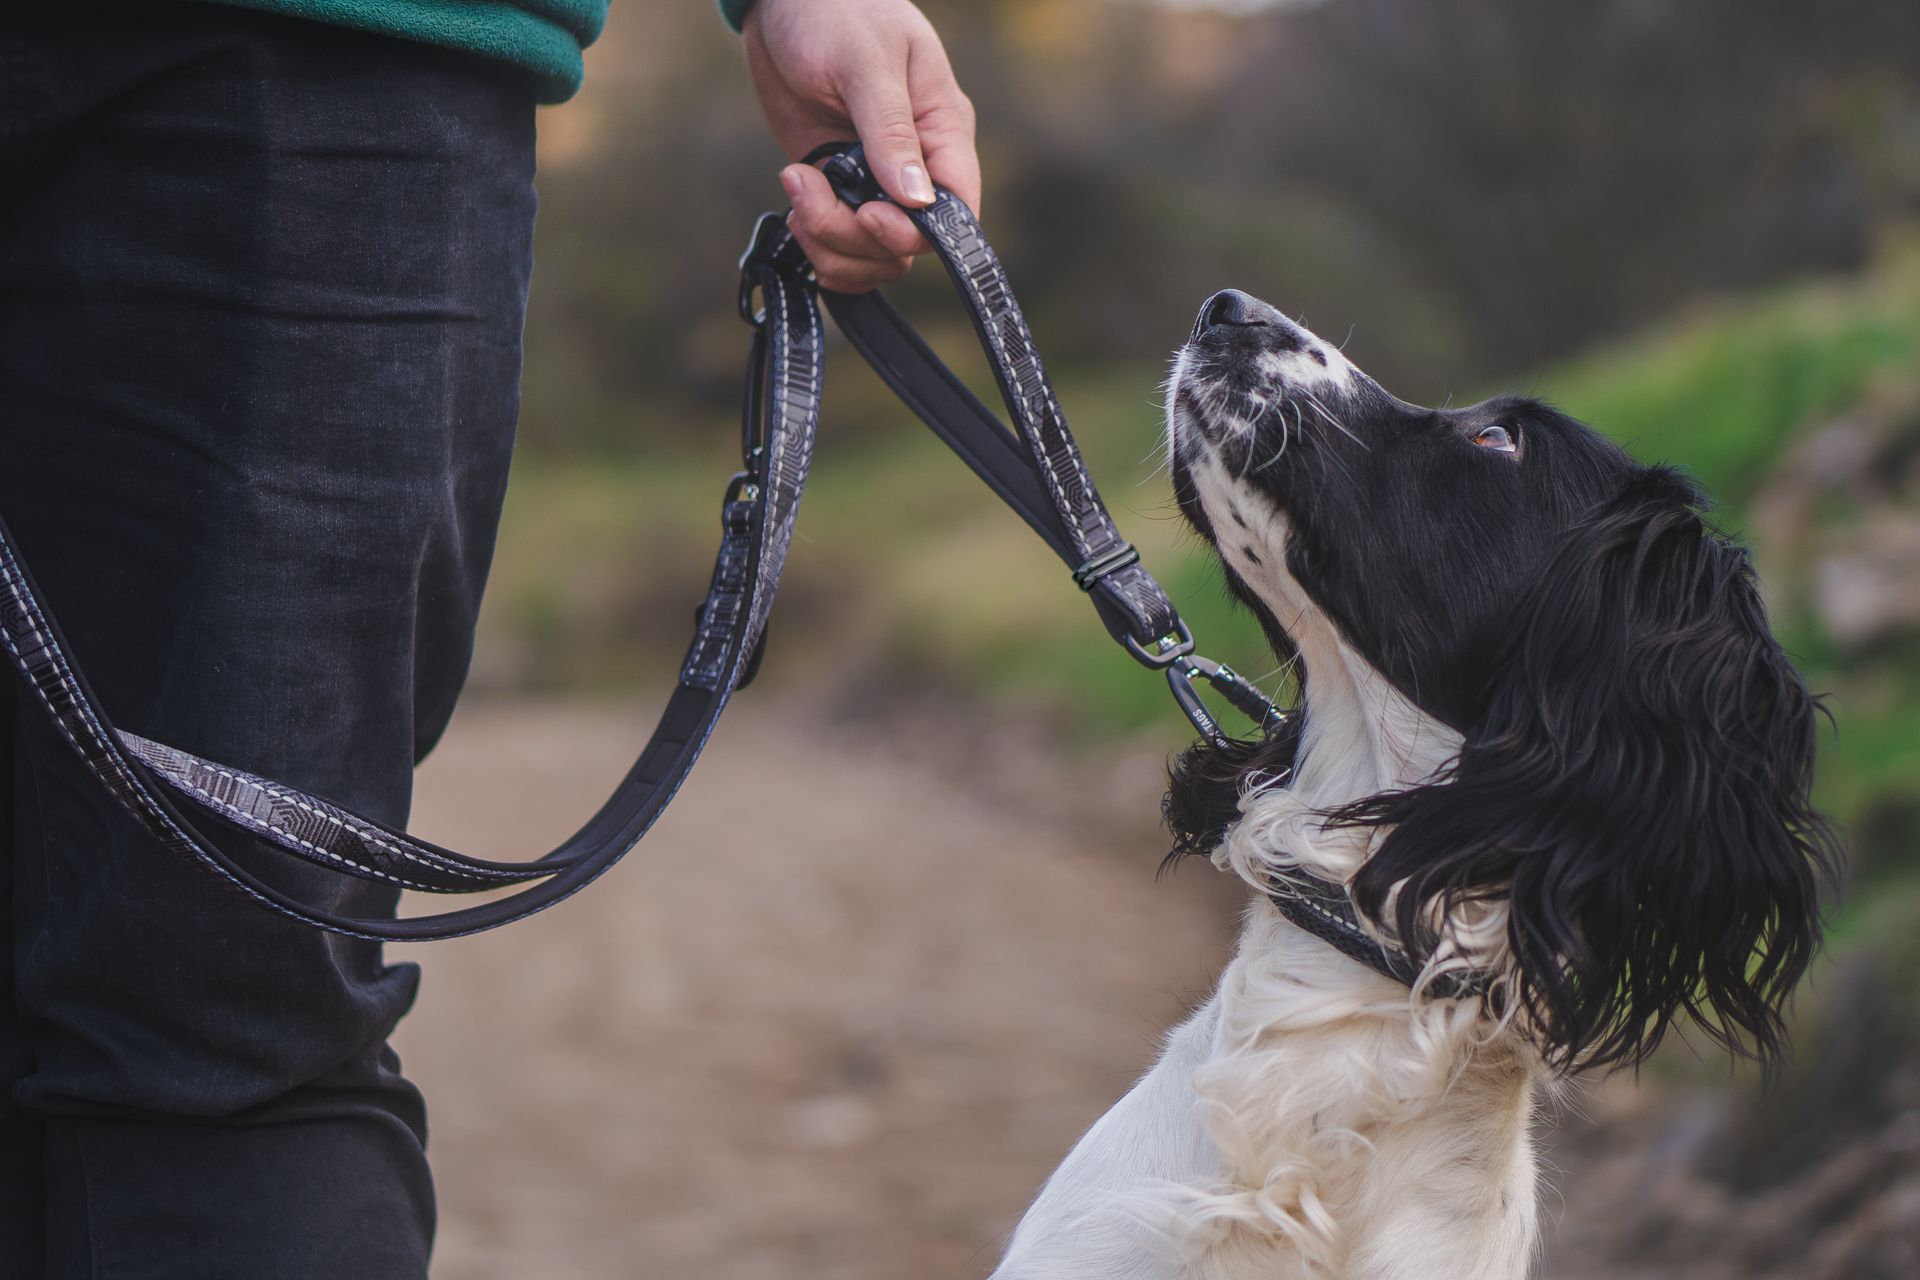
1. Standard lead for every day walks: Simply clip the adjustable end of the lead to your dog's harness or collar, pull the non-adjustable sliding D-ring close to the opposite end of the lead and loop the other end to attach the carabiner to the sliding D-ring at a size that feels comfortable for you as a handle. Use the adjustable D-ring to choose any length of lead that you prefer.
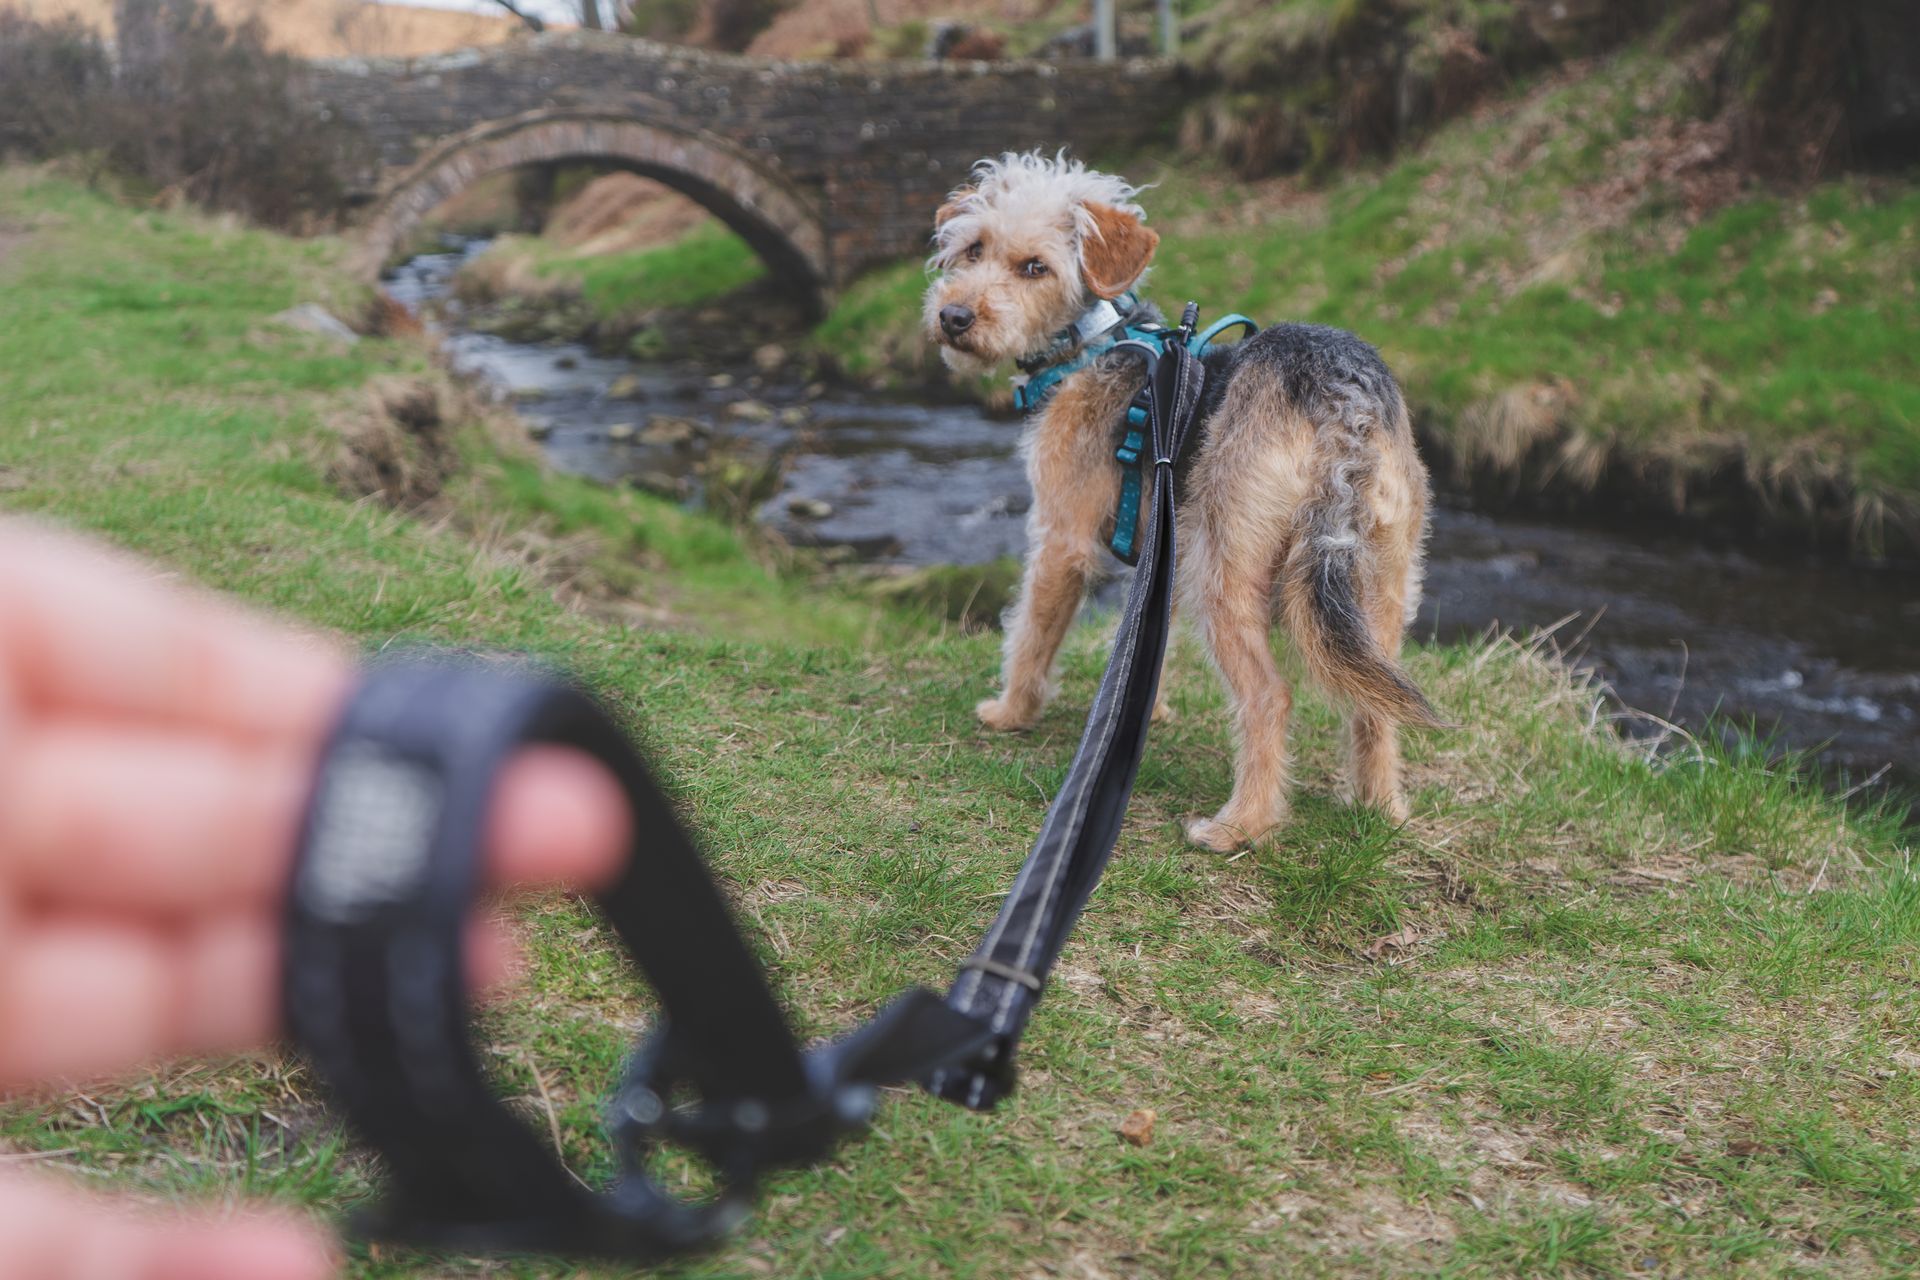
2. Very short lead for heel training and busy environments: Attach the non-adjusting end of the lead to your dog's collar or harness and move the non-adjusting and the adjusting D-ring all the way towards your dog so the lead has been adjusted to its shortest. Use the strap keepers to avoid any large gapping in the lead, and attach the second carabiner to the fixed D-ring on the part of the lead attached to your dog. This lead is now 2.5ft and great for very close control and heel training.
3. Double-clipped onto the front and back of the harness for lead training and extra-control for a lunging/reactive dog: All you need to do is attach one of the locking carabiner clips to the back D-ring of your dog's harness and one the front D-ring. Adjust the lead to the length of your preferance. You should be careful to ensure if your dog pulls that they are pulling primarily into the back D-ring of the harness to avoid your dog twisting if all the weight is at the front, however it now means if your dog pulls hard or lunges the strength and weight of your dog is distributed making them easier to manage. Please scroll down a bit further for ways this can be used for training! Please note this only works with a harness that has front and back attachment points like our Adventure Harness
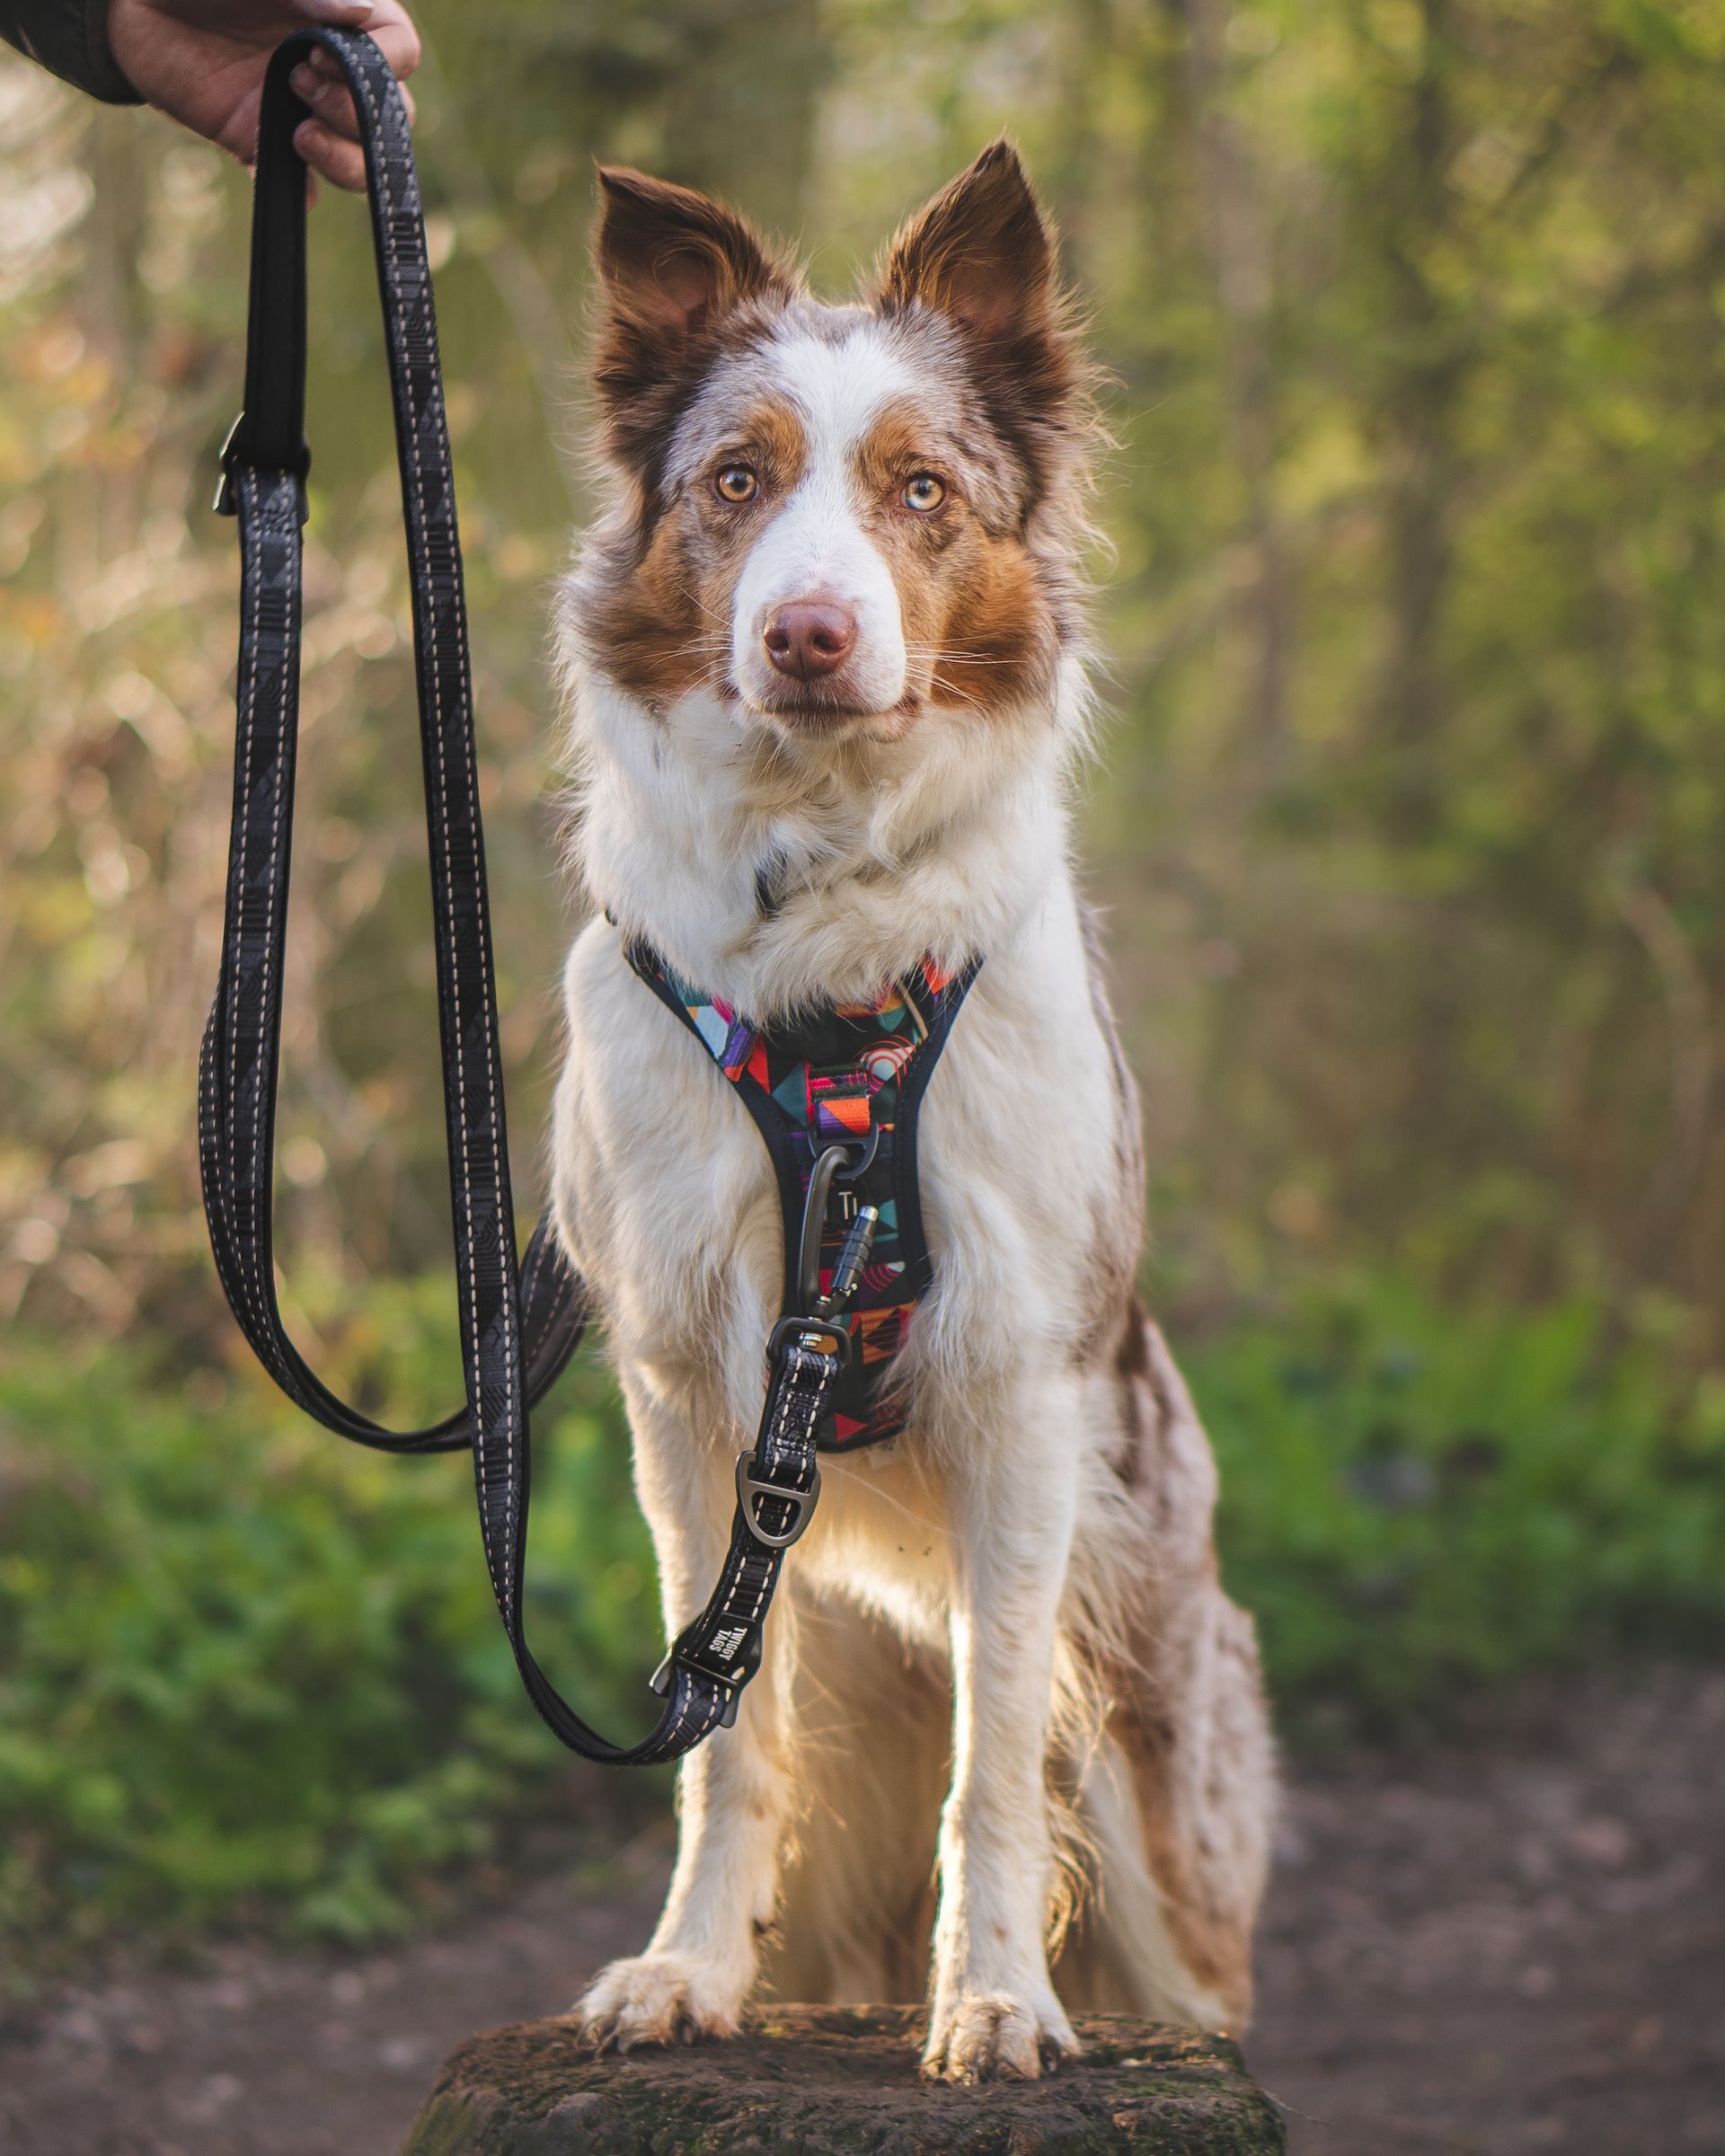
4. Hands-free across body: Attach the adjusting end of the lead to your dog and choose your desired length of lead by using the adjusting D-ring. Then all you need to do is loop the lead around your body over your shoulder and move the second sliding D-ring to where feels comfortable to you, clip the second carabiner onto it, and you're ready to go. Please use this method responsibly and not with strong pulling dogs.
5. Hands-free around the waist: This one is really easy, follow the exact instructions as the across-body version, but move the sliding D-ring to a point where the lead loops comfortably around your waist instead of over your shoulder. Again with this one, please use this method responsibly to avoid injury to yourself
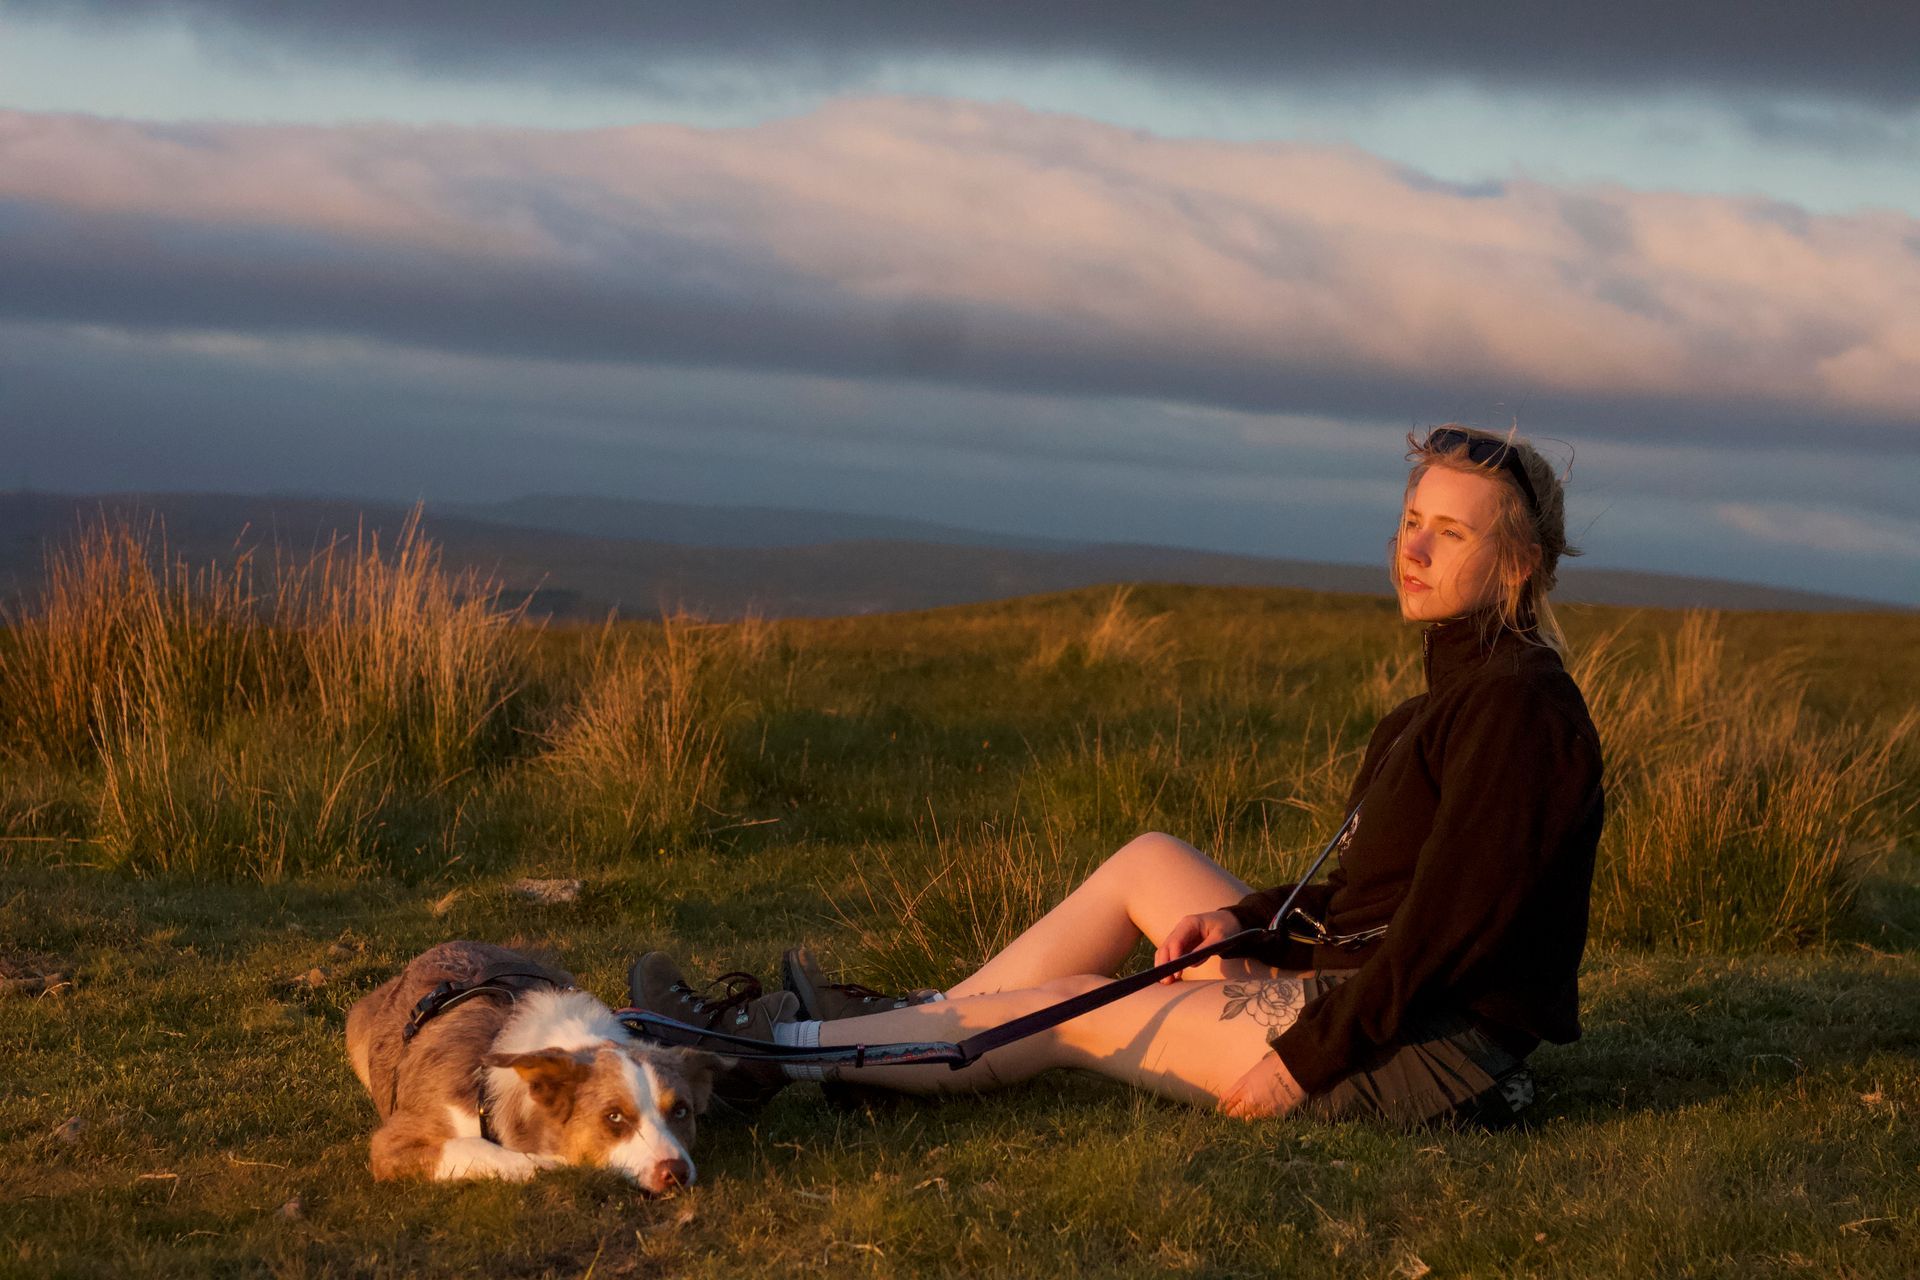
6. Hands-free clipped to you for house training puppies: This isn't the only way to train puppies - but it's a method lots of owners enjoy! Want to get on with your day but your puppy isn't quite house-trained yet or safe to leave unattended? Clip one end of your multi-way to you via a belt loop or any other attachment points on your clothing. Please note this is not recommended for outside or for dog's without recall, as although our leads are strength-tested, your clothes may not be!
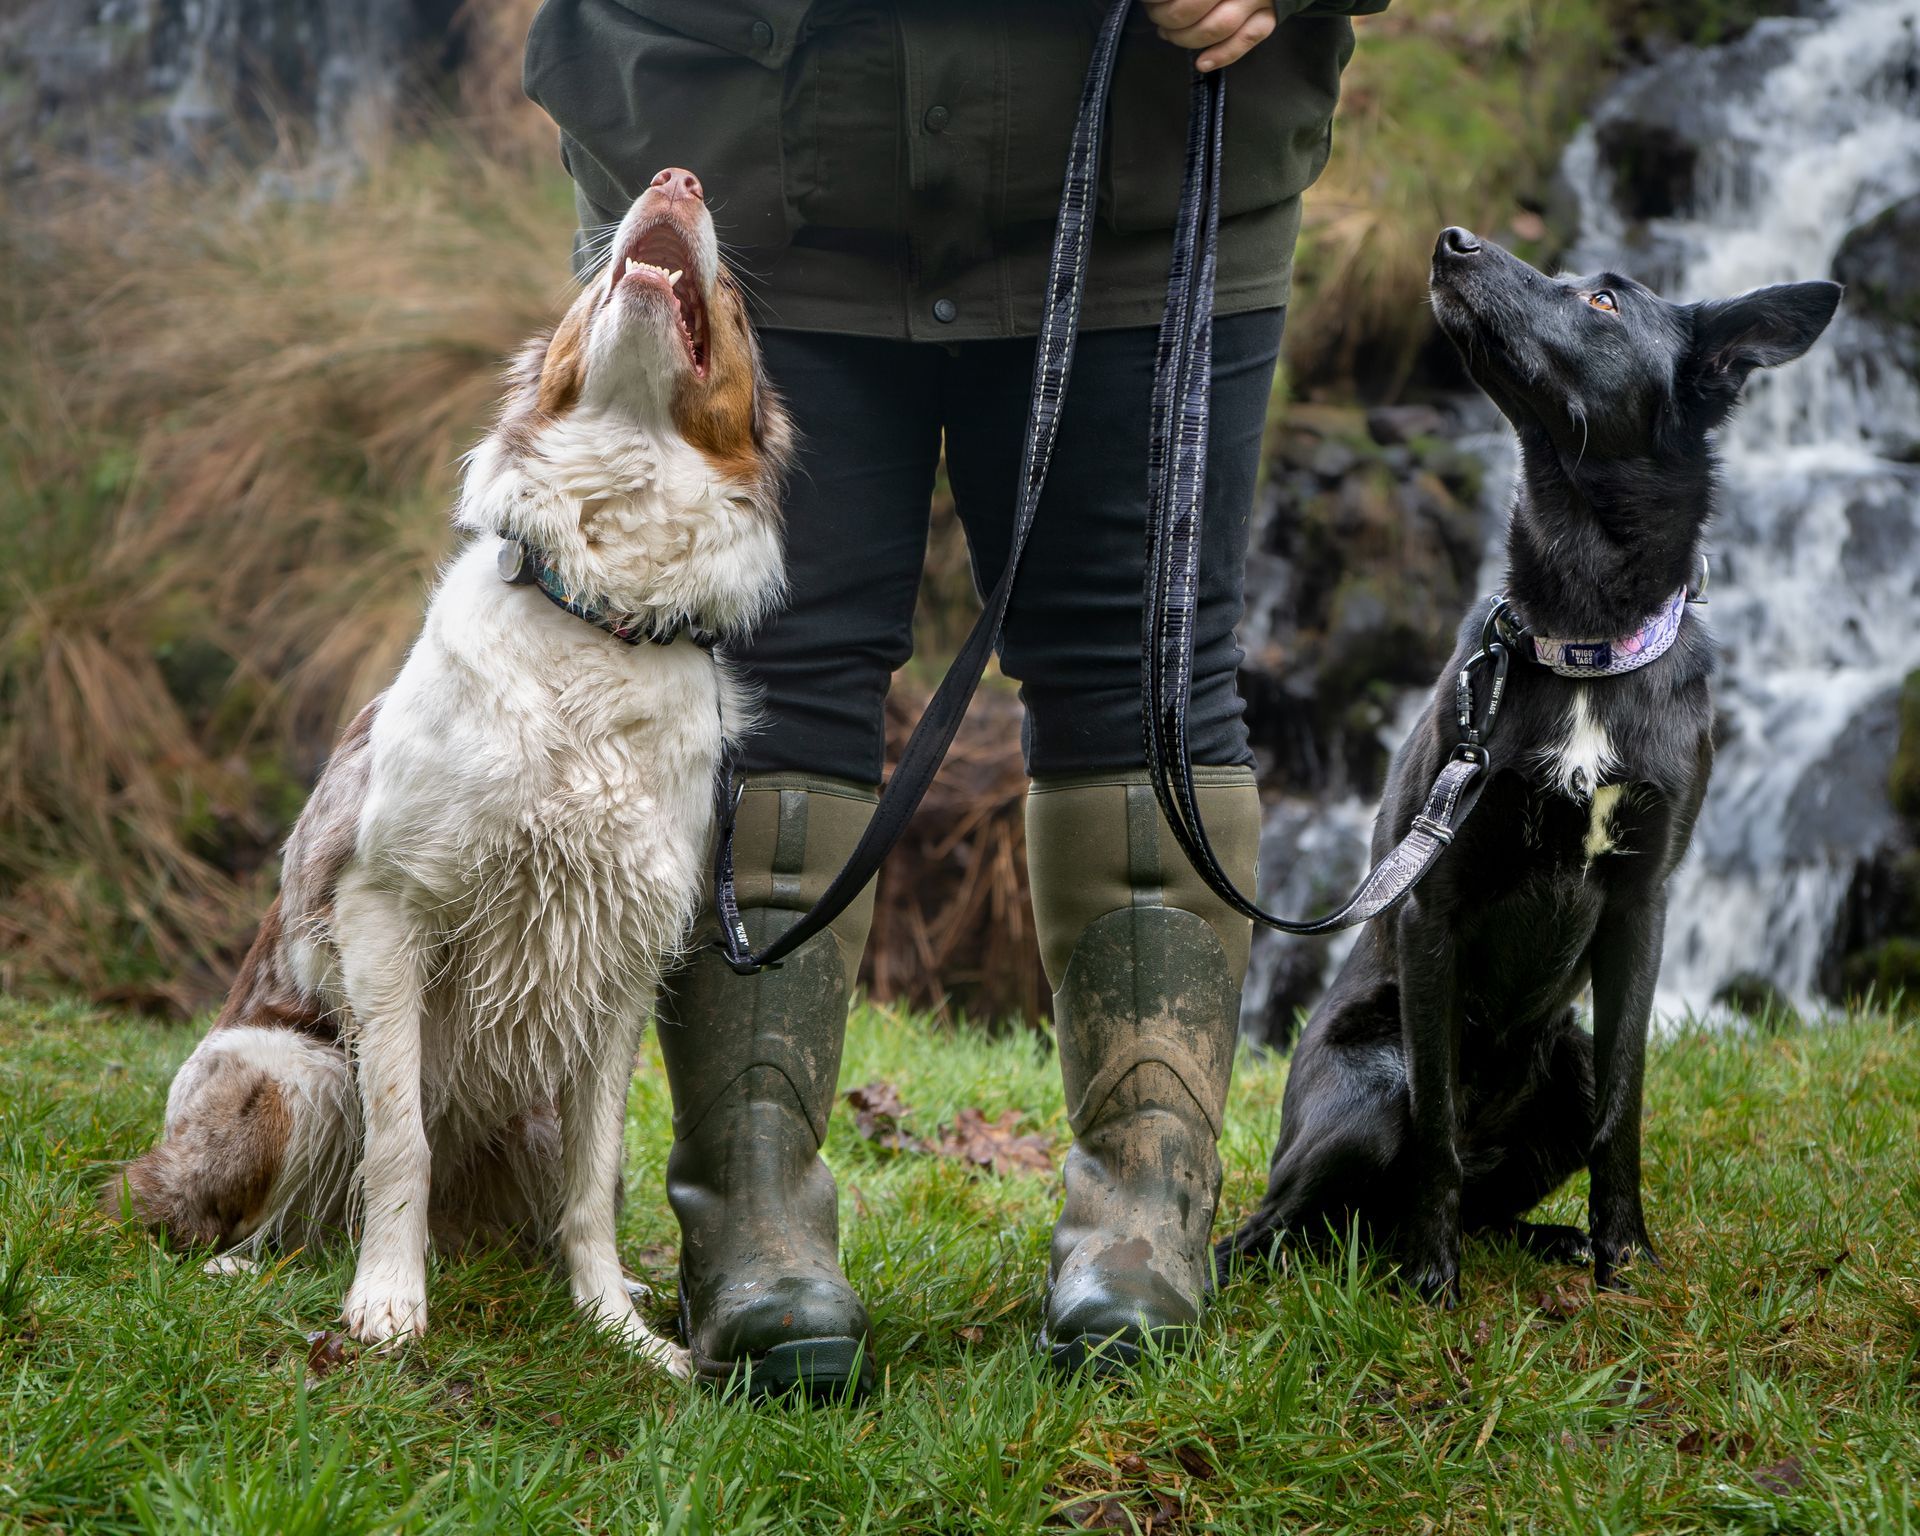
7. Walk two dogs at once, one clipped to each end of the lead: Exactly what is says on the tin! You just need to clip each auto-lock carabiner on each of the lead to each of your two dogs you want to walk together. As with using it in any of these styles, you can adjust the length to your preferance. Just make sure you move each sliding D-ring to the side one way or the other so when you hold on the middle you are holding onto the comfortable neoprene padding and not metal!
8. Double-clipped attached to harness and collar for extra failsafe for nervous, anxious and flight risk pups (and anxious owners too!): New puppy and worried about their little bodies squeezing out of their harness? Rescue dog who is a flight risk if they get spooked out on walkies? Just attach one carabiner clip to your dog's harness, and the other end to your dog's collar. The lead clips are strength-tested and auto-lock into place so are extremely reliable, especially when paired with a TT harness or collar, however with this method you can feel reassured that if your pooch slips their collar, they will still be attached to you via their harness or vice versa.
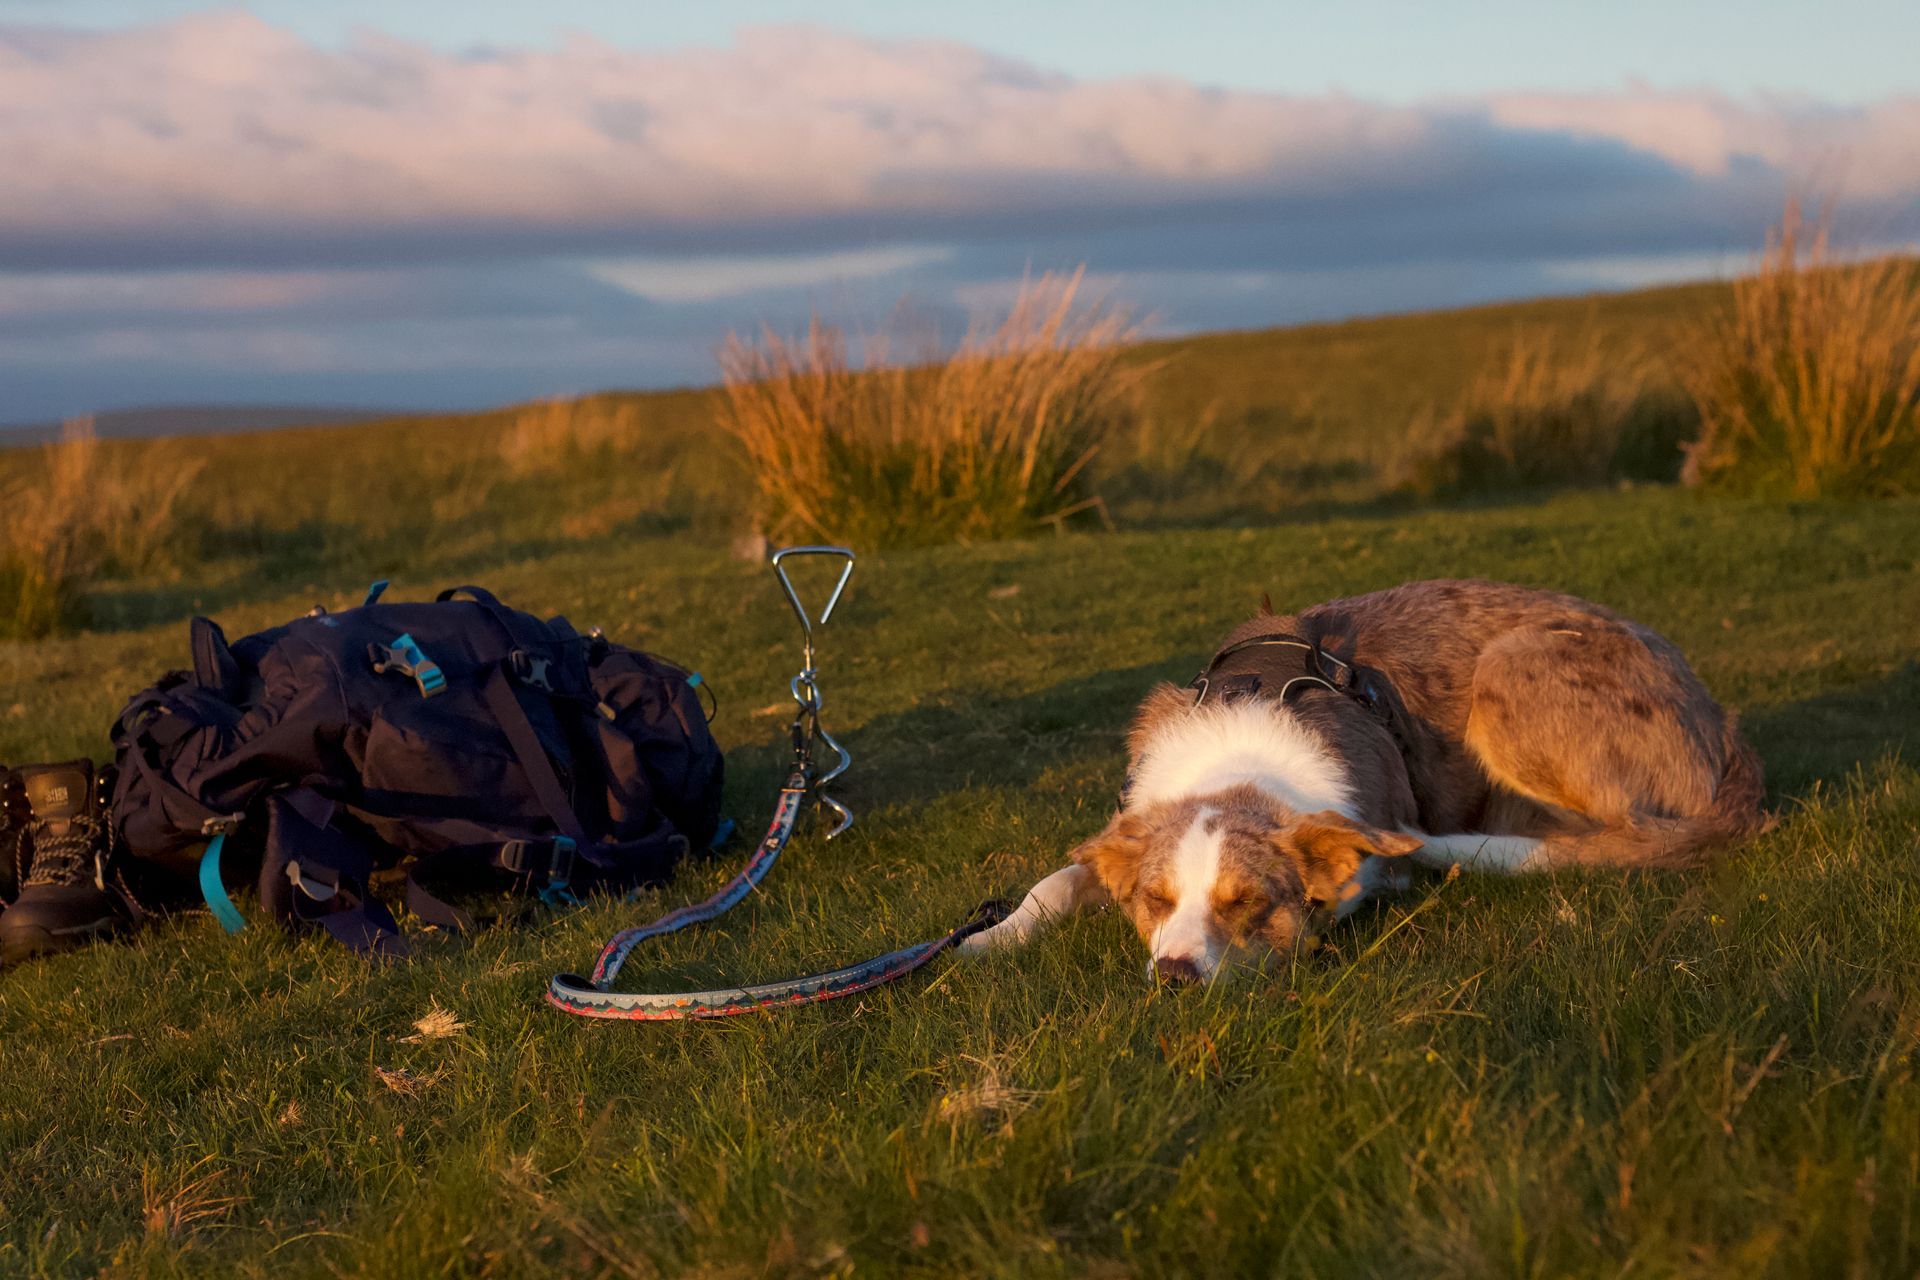
9. Tether your dog to anything! Great for camping!: Attach the adjustable end of the lead to your dog, and then loop the opposite end around wherever you would like to tether your dog (tree, picnic bench, pub table, restaurant seats etc) and move the non-adjusting D-ring to meet the locking carabiner and your dog is securely attached into place. Adjust the lead to desired length and you are good to go! Alternatively, if you have a proper camping stake, the lead can be clipped directly onto the attachment loop while the other end is attached to your dog. Please use this method responsibly. Do not leave your dog unattended and only attach to a harness if your dog has any chance of running suddenly to the end of the tether for safety reasons.
10. Very long 8ft length for recall training: See videos below for tips and tricks of how to use this for recall and engagement training! To set up, pull the adjusting D-ring as far as you can towards the adjusting side of the lead. Once it is as long as it can be, pull the non-adjusting sliding D-ring up towards the other end to make a small handle loop the same as we did for the standard lead. You now have yourself an 8ft long line which can turn right back into a standard or hands-free lead when you're finished!
11. Standard lead with a traffic handle for close control: Set up the standard lead as we directed in number 1, but for this one you can't quite have it to it's absolute maximum length. You will see the lead creates a loop on the adjusting end. The two metal strap keepers should usually be spread equally to stop any large gapping on the lead, but this time you want to push the strap keepers all the way down and out the way, and you have created a loop you can use as a close control/traffic handle as and when you need to.
12. Around the waist with a traffic handle for close control: See the instructions for around the waist and combine it with number 11 above!
13. Cross-body with a traffic handle for close control: See the instructions for across the body and combine it with number 11 above!
14. Slip lead: We only recommend using this lead as a slip lead for emergencies or for short periods of time. For this one you will need to make your handle from the end of the lead which adjusts, so the adjustable D-ring will need to be adjusted to create a preferred size of handle. Please be aware that this will also impact the full length of the lead, but there is no harm in having a larger handle if you want a shorter length. Create a loop with the non adjusting end of the lead and put the lead through the carabiner clip and close the carabiner and the clip will be able to slide up and down, working as an emergency slip lead. Use responsibly and not for pulling dogs.
15. Figure of 8: Follow the exact steps from above except the loop around your dog's neck you need to make much larger. Ensure where the carabiner attaches is situated at the back of your dog's head and twist the loop so it looks like an 8 shape. Your dog's head should already be in the first circle, then loop the second circle over the dog's muzzle, sitting underneath and at least 1cm away from the eyes. If your dog's head shape does not allow for this positioning, we do not recommend using the lead this way. The lead should be soft, padded side down on the dog's skin, and when you pull the lead gently back it should tighten until it is fitted to the dog's nose and up and around the neck. We do not recommend this for long-term use or as a training tool and please use responsibly and not on pulling dogs.
Can this lead help with training my dog?
Yes it can! Although we never have and never will market our products as a quick fix for any training or behaviour issues, there are ways this lead can be used - especially in conjunction with our other gear - to help aid in training your pooch! We have created video guides to show how this lead can help with engagement, loose lead walking, recall and impulse control.
Video guides for training using the Twiggy Tags Multi-Way Lead are coming soon!!


Leave a comment